

How to Prevent Brush Strokes When Painting Trim
Nothing can brighten up a room like a fresh coat of paint, especially when applied to trim and doors.
Speaking from personal experience, I know how it feels to spend a lot of money and time on painting surfaces, only to see brush strokes on the trim that stand out and announce your bad workmanship to all! Being a “broad brush” type of person, most of my mistakes have come from insufficient preparation, incorrect/imperfect equipment, and haste. It is fairly easy to prevent brushstrokes from appearing in your paint job according to Industry Decorators, who are experienced painters and decorators in London.
Here are some tips to help you to prevent making the same mistakes and hopefully you will be delighted with your perfectly painted trim.
Preparation, preparation, preparation!
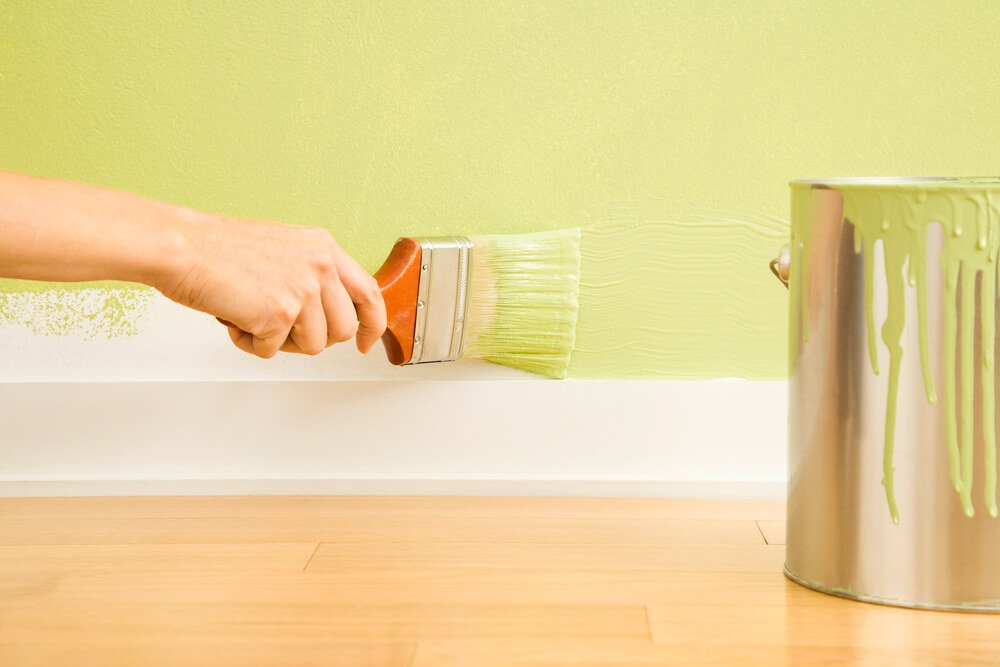
Before you even pick up a paintbrush, you need to check that you have the necessary equipment. Cover a large table with a protective material and set up the equipment on it. Keeping equipment handy saves going off to search for something and leaving the paint to dry with brush strokes.
What equipment do I need to paint trim?
- Dust mask
- Filling knives and filler
- Paint scrapers
- Dusting brushes
- A mixing board made of MDF
- Sandpaper (which, of course, comes in different grades)
- Masking tape
- Paintbrushes (Purdy brushes are a good brand and my favorite is the Purdy’s 2.5 in. Angled Nylox Brush)
- Loads up well so you can move some paint, but what I love most is how super soft the bristles are. That’s what you want to help reduce brush marks
- Paint (see recommendations for the best finish on your trim below)
- Goggles and a mask depending on the type of paint that you are using
- Old clothes
You are ready to prepare the room and the surfaces:
- Start early in the day so that the room has plenty of time to air before you close up for the night.
- Tuck masking tape around the edge of the carpet or flooring that touches the skirting or trim.
- Then you need to brush down the surface and fill any cracks or holes with a fine surface filler product such as Polycell.
- Use a clean, damp cloth and remove all traces of the product and wait for it to dry.
- Lightly sand the trim back with fine sandpaper.
What is the best way to paint trim to avoid getting brush strokes?
Top Tip!
I would advise having a bit of practice with an off-cut of trim before you tackle the actual job. This will give you the opportunity to get used to handling the brush, get a feel for the way the paint covers the wood and it will save you making mistakes on the real job. When you feel confident that you have mastered the technique, you are ready to begin.
Step by step method to avoid brush marks on your trim:
Firstly, make sure all your surfaces and equipment are absolutely clean and dust-free. There are different ways of holding the paintbrush but the most important thing is to have excellent control. Now you should dip the brush about 1/3 of the way into the paint.
Apply it quite quickly and as evenly as possible. When you have used almost all the paint on the brush, apply a little bit of light pressure as you drag the brush along the surface and smooth out the paint as you go. This is not the final step so do not be concerned if the surface of the trim still has brush strokes. If you have used the best quality paint (and I warn you against using a cheap brand – remember the saying: “Don’t spoil the ship for a ha’porth of tar”?) so faint brush strokes will even out as the paint dries.
If the paint still has not covered the surface to your satisfaction, your reaction may be to use more paint and keep going over it. This will produce the opposite effect that you are trying to achieve, so do not do this!
Wait until the first coat is completely dry before you give it a light sanding. Carefully brush of ALL the dust and then apply the second coat in the same careful way as the first one.
For those of you that prefer to learn by looking you will find a number of useful videos on YouTube.
There are many TIPS and TRICKS for preventing brush strokes on trim that the professionals are happy to share with us DIY’s. Here are a few:
Brush Mark Prevention TIPS
- Always sand the surface until it is smooth and remove any previously applied paint.
- Use paint conditioner
- Buy expensive brushes
- Choose a water-based paint that acts like an oil paint. These paints give the finish of an oil-based paint but are easier to clean up, give you the perfect finish and some have added latex to ease the drag on the brush.
- Always follow the manufacturer’s instructions on all the products and equipment that you use for the job.
- For the easiest and most efficient option use a spray paint
- luck when you next paint your trim and I hope that you will be proud of your work and that your trim will be free of brush strokes!